Learning about Django from Mosh
This post documents what I’ve learnt from a Django tutorial on Youtube. I’m learning Django so I can eventually build a GIS web app. Some ideas I’ve had for the web app are:
-
A map that displays the schedule of what’s on at my favourite music venues and cinemas. I don’t like visiting 5 different websites to plan my weekend. Why not have a site that puts all events in one place? (Not that my weekends are that free now that I’m writing this blog…) 🙄
-
A map to visualise solving the Capacitated Vehicle Routing Problem using real-world locations but without real-time traffic data. I’m thinking of getting the vertices and edges from OpenStreetMap.
There are many video tutorials promising to take you from zero to hero in the shortest amount of time. I ended up landing on this one. I thought the tutorial was easy enough to follow but it’s incomplete.
Nonetheless, here’s a summary of what I learnt from Mosh’s tutorial:
- Starting a Django project
- Apps
- Views
- Templates
- Debugging a Django app in VS Code
- Django Debug Toolbar
Starting a Django project
Assuming you’ve activated a virtual environment with Django installed, these are the steps to create a Django project from scratch.
Let’s suppose your project name is “storefront”, because you’re building an e-commerce site. 1 Run this in your terminal to set up your project folder directory:
django-admin startproject storefront .
You can replace storefront with any project name.
Remember not to leave out the period, ., otherwise Django will create another parent folder like this:
.
└── storefront
    └── storefront
Then you now have a redundant parent folder named storefront.
Inside the storefront folder, you’ll get this default directory structure.
.
└── storefront
    ├── __init.py
    ├── asgi.py
    ├── settings.py
    ├── urls.py
    └── wsgi.py
-
__init__.py: Turns the directory into a package, so you can import it from elsewhere. -
settings.py: A config file for the entire website. Here’s where you specify things like where you database is. -
urls.py: Defines what URLs get used for what functions in your website. -
asgi.py/wsgi.py: For web deployment. Too complicated for me to understand now. -
Other files that are created:
-
manage.py: A wrapper fordjango-admin. It is used to manage your project with admin privileges. Here’s an example using bothmanage.pyanddjango-adminto deploy the website locally, with slight differences.django-admin runserver^Doesn’t look through your
settings.pyvs
python manage.py runserver^Looks through your
settings.py
-
If you run python manage.py runserver in your terminal, you’ll go to your development site.
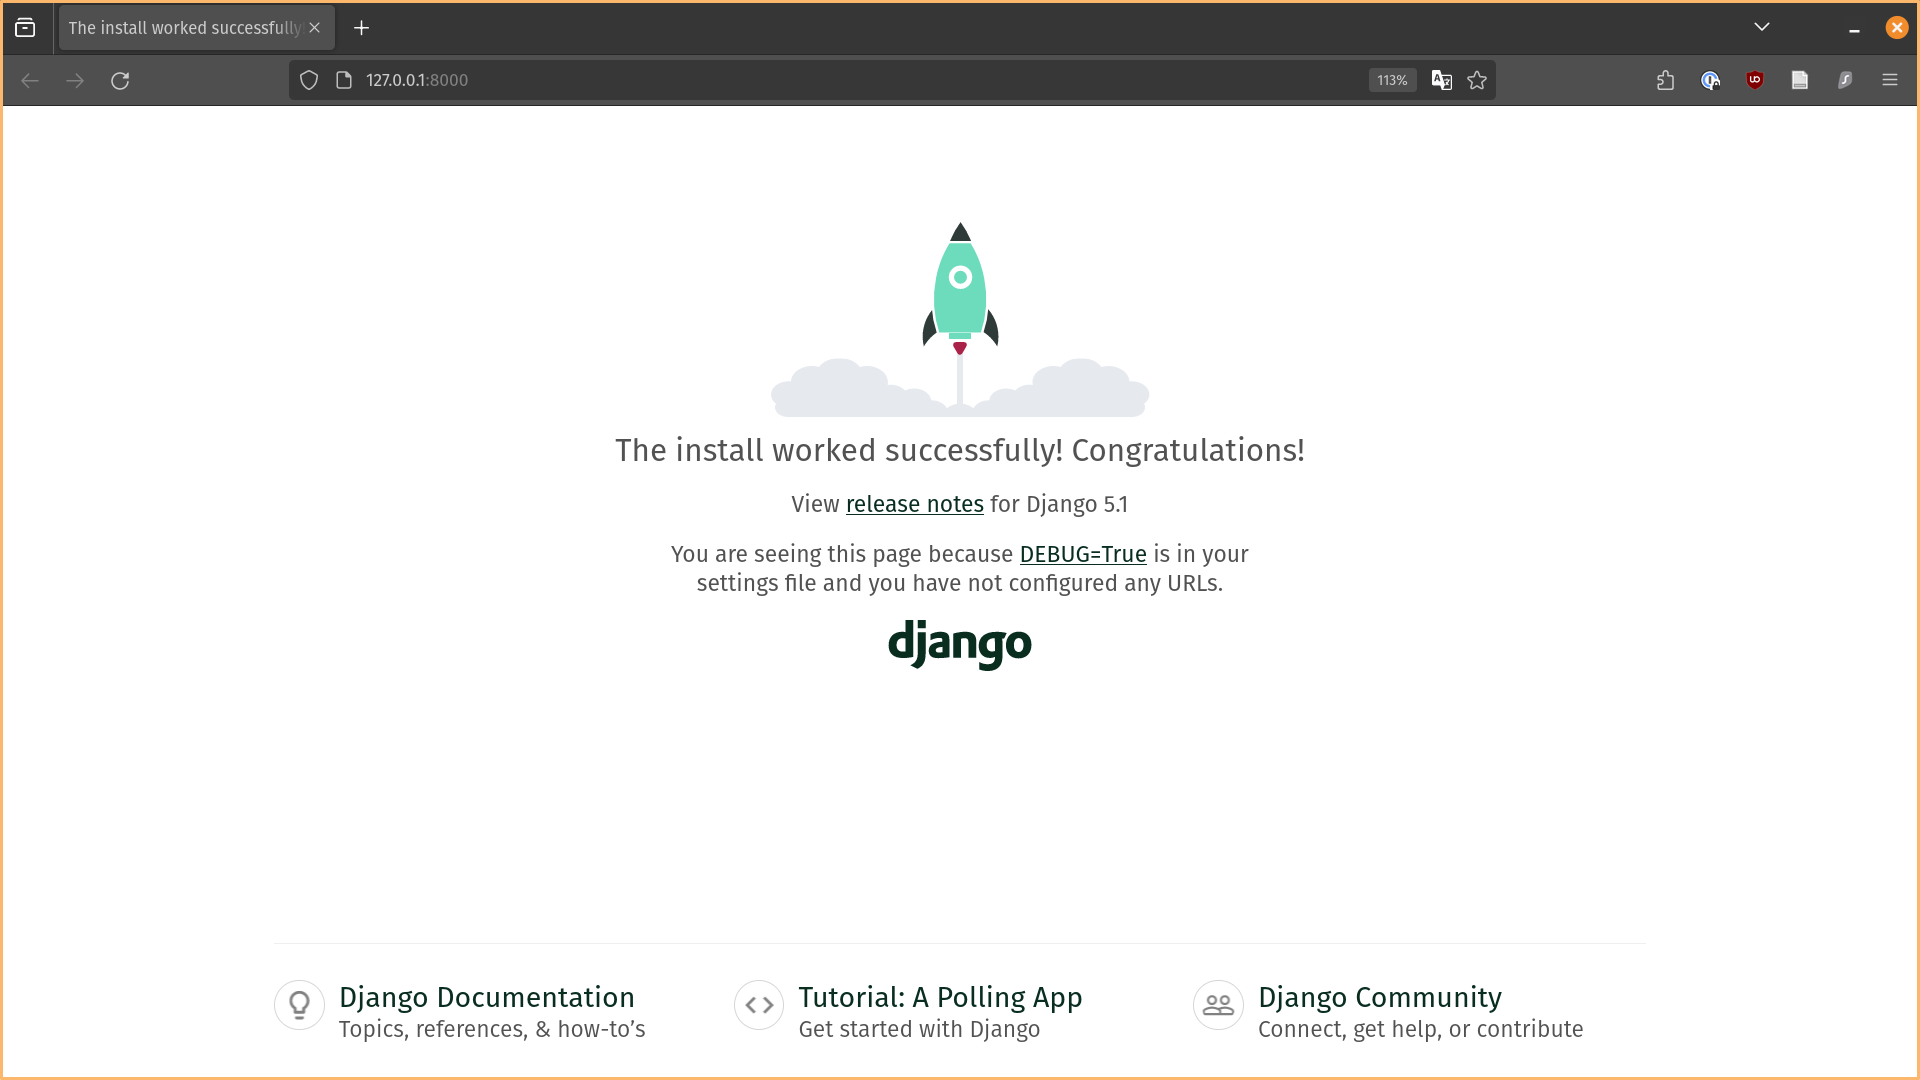 Empty Django Site.
Apps
“Each Django app is just a collection of apps, each providing several functionalities.”
– Mosh (paraphrase mine)
Django breaks down a large web app into subapps using object oriented programming. Going back to the SOLID principles, I can apply the ‘S’ as in ‘Single-reponsibility principle’ here. Say we still want to create an e-commerce web app. Then, I should have an app to handle the various tasks you’d expect when shopping online, such as:
-
Customers: To handle customers data.
-
Products: To handle product data.
-
Cart: To handle products that the customer selected and wishes to purchase.
Etc.
To view your apps, go into the settings module of your project folder and look for INSTALLED_APPS.
# settings.py
INSTALLED_APPS = [
    'django.contrib.admin',
    'django.contrib.auth',
    'django.contrib.contenttypes',
    'django.contrib.sessions',
    'django.contrib.messages',
    'django.contrib.staticfiles',
]
What you see on top are the default apps that appear when you create a Django project from scratch.
Creating an app called playground
Following the tutorial, I created a custom app (called “playground”). To do so, you need to run the following command in a new terminal. Before that, you should already have another terminal with the website running in the background (use: python manage.py runserver).
python manage.py startapp playground
The command above creates a new folder with some standard folder structure. This folder will have the same name as our app, “playground”. After creating an app, you need to add your app to INSTALLED_APPS inside the project’s settings module. That’s the one we just saw above.
Before
# settings.py
INSTALLED_APPS = [
    'django.contrib.admin',
    'django.contrib.auth',
    'django.contrib.contenttypes',
    'django.contrib.sessions',
    'django.contrib.messages',
    'django.contrib.estaticfiles',
]
After
# settings.py
INSTALLED_APPS = [
    'django.contrib.admin',
    'django.contrib.auth',
    'django.contrib.contenttypes',
    'django.contrib.sessions',
    'django.contrib.messages',
    'django.contrib.staticfiles',
    # Our newly added app
    'playground' # <-
]
We’ll come back to the playground app after we define a Python function to return a response to the client.
Views
“A view function, or view for short, is a Python function that takes a web request and returns a web response.”
– Django Documentation
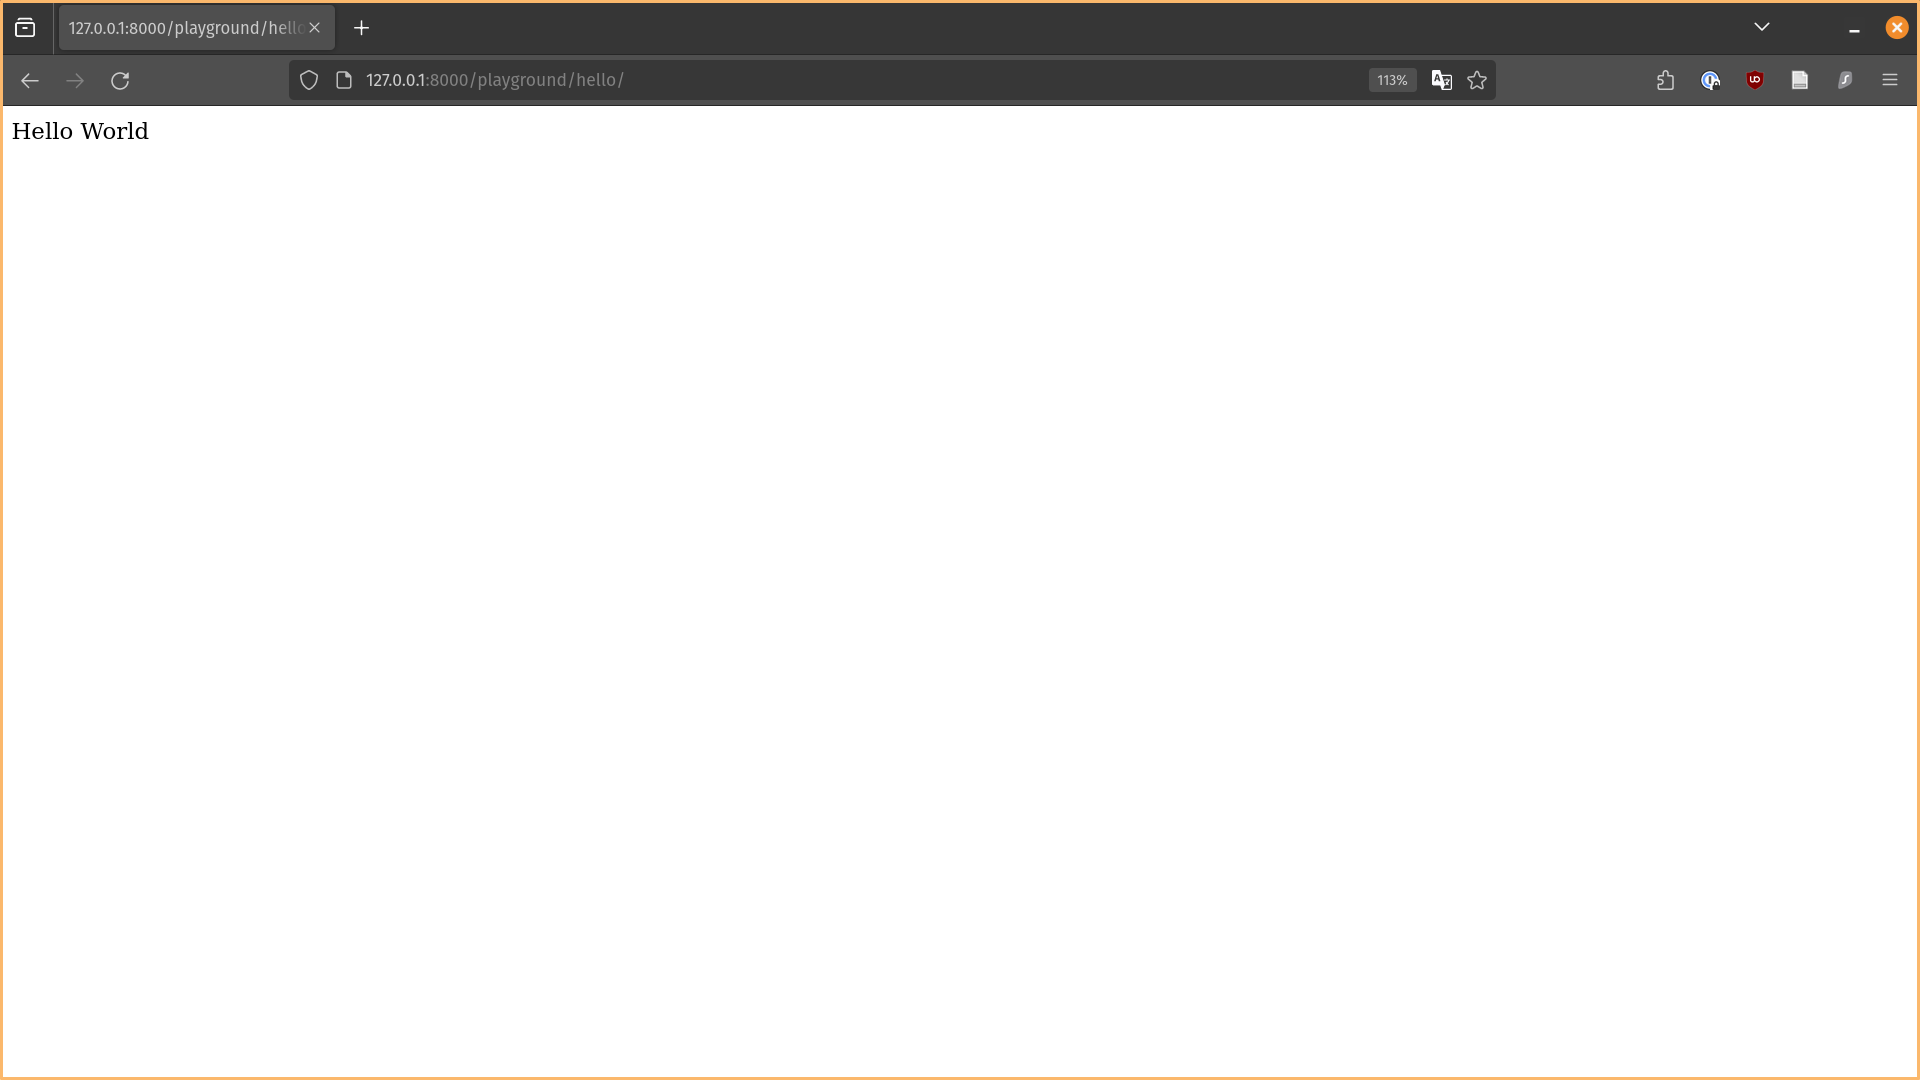
More accurately, a view function in Django is a Request Handler. For example, I want the website to sort the display of products from highest to lowest price with a button click. The user’s click event is the web request, which is passed as an argument to some view function. The function then returns the sorted products as the response. Mosh gives a much easier example. He writes a view function that returns “Hello World”, when the user arrives at the URL playground/hello/.
Here’s the “Hello World” function:
from django.shortcuts import render
from django.http import HttpResponse
# Create your views here.

def say_hello(request):
    """
    This is a view function that can do anything you want
    it to do as long as it's properly defined. For example,
    you can write a function to
    * Pull data from a database
    * Show an image
    * Send email response
    For now we will get it to just say "Hello".
    """
    return HttpResponse('Hello World')
To map the view function to the URL playground/hello, we first need to add a file called url.py in the playground folder. (Remark: You can call this file anything, but we name it url.py by convention)
# playground/urls.py
urlpatterns = [
    # NOTE: Always end route with a forward slash.
    path(route='hello/', view=views.say_hello)
]
After writing the URL map in our custom app playground, we want to add that to the overall URL config in storefront. Inside
storefront/urls.py, there’s actually instructions to help with this task.
# storefront/urls.py
"""
--cut--
Including another URLconf
    1. Import the include() function: from django.urls import include, path
    2. Add a URL to urlpatterns:  path('blog/', include('blog.urls'))
--cut--
"""
Following the instructions above, we add the follow lines into our project’s url.py file.
# storefront/urls.py
urlpatterns = [
    path('admin/', admin.site.urls),
    path('playground/', include('playground.urls'))
Now, when you go to the URL, /playground/hello, you’ll get the “Hello World” response.
Templates
We managed to return “Hello World” in plain text, but what if we want to add some HTML to this site? Then, we can use templates to return HTML content to the client. To do that,
-
Step 1: Create a new folder called
templatesin yourplaygroundfolder. -
Step 2: Create a template file, name it whatever you want. In Mosh’s example, he names it
hello.html. -
Step 3: Edit the view function to return the template instead of just “Hello World”.
We have to make some tweaks to the view function, since we no longer want to print plain text but render it through the HTML template. Before, we had the view function return a HTTP response HttpResponse('Hello World') but now we want to return a render of the HTML template. Here’s the before and after of the view function say_hello.
Before
def say_hello(request):
    return HttpResponse('Hello World')
After
def say_hello(request):
    return render(request=request, template_name='hello.html')
Contents of hello.html template
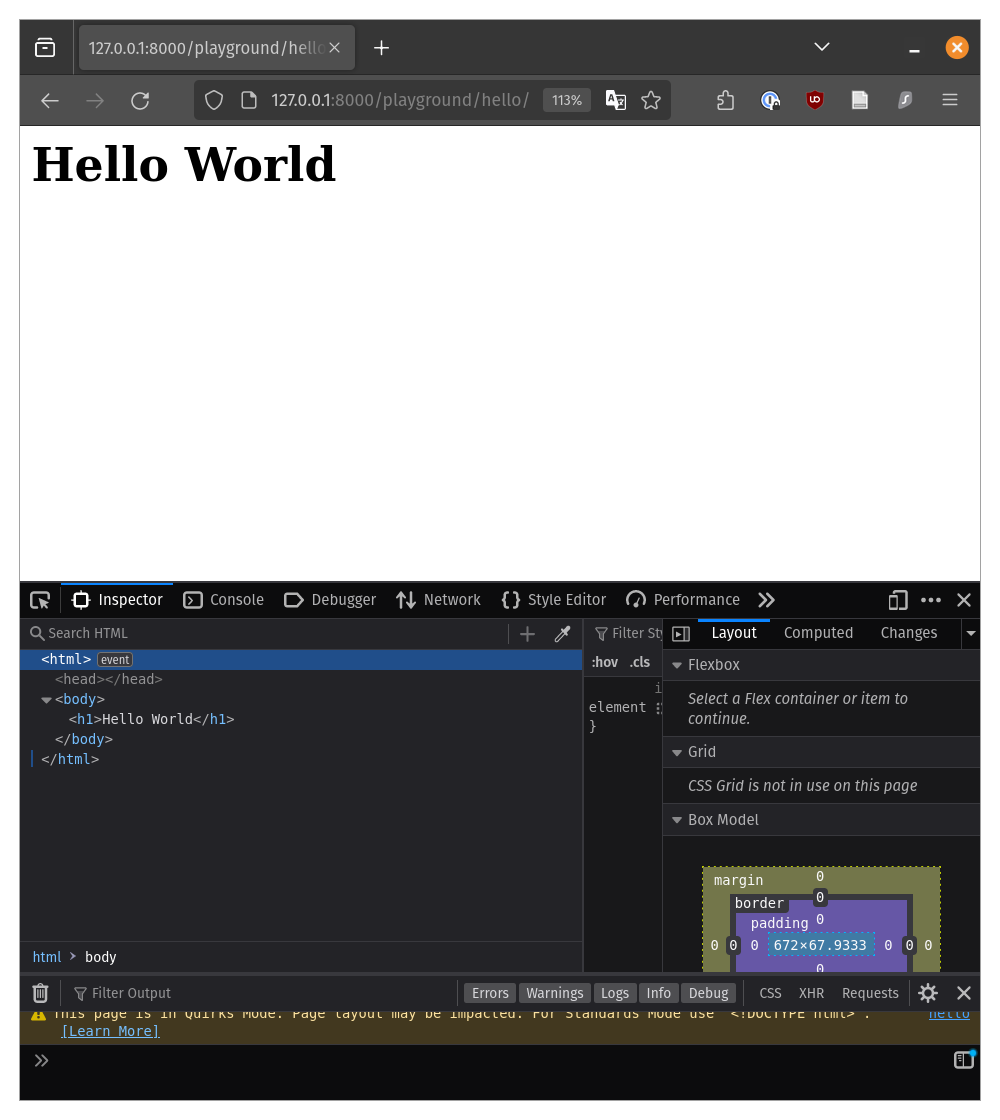
<h1>Hello World</h1>
Below: Screenshot of the rendered “Hello World” page using hello.html. Inspector shows the rendered HTML underneath.
Now we can change the HTML file to also output variables, not just hard-coded plain text.
-
Step 1: Pass in an argument to the
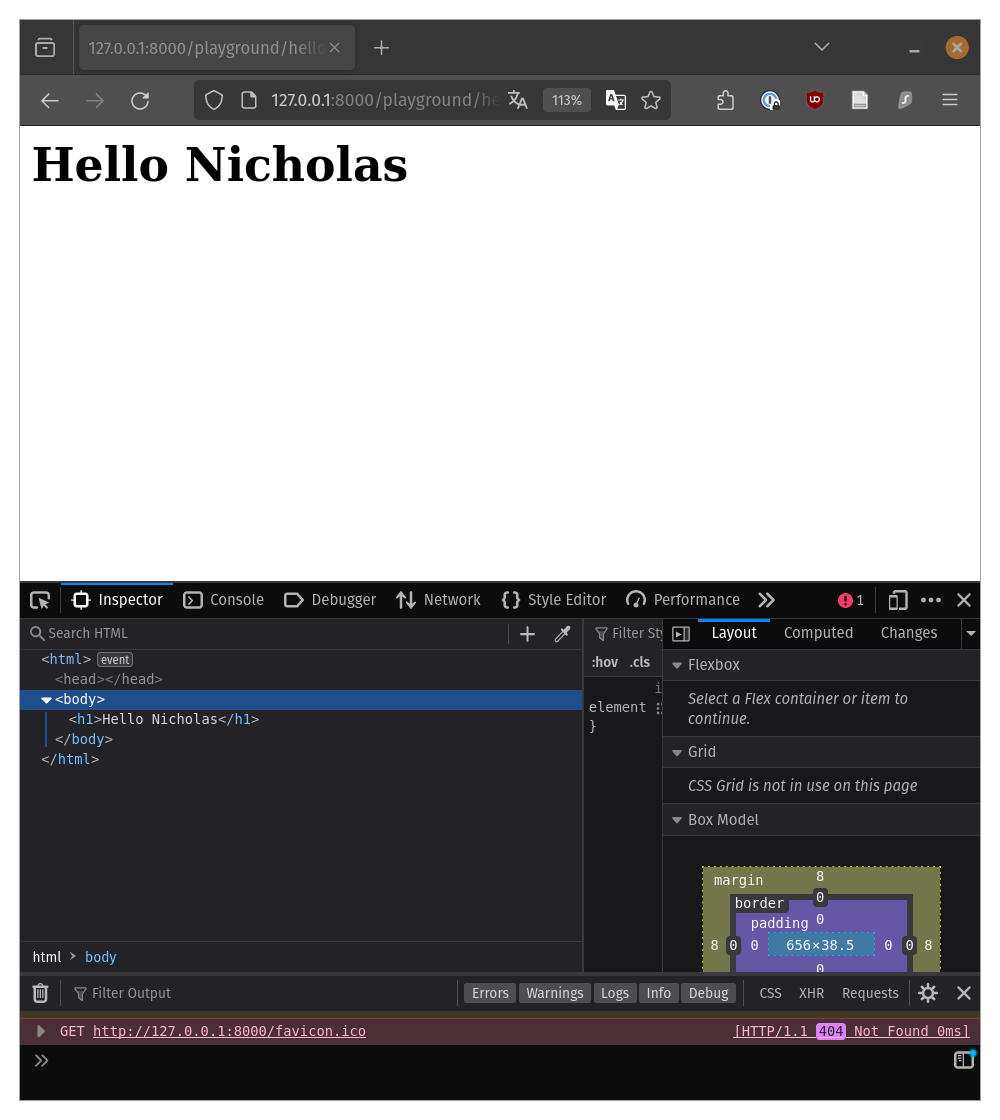
contextparameter of your view functionsay_hello.def say_hello(request): return render(request=request, template_name='hello.html', context={'name':'Nicholas'}) -
Step 2: Edit your HTML file to include the variable name, which is the key value of the dictionary. In our case, the key is
'name'and the value rendered is'Nicholas'.<h1>Hello {{ name }}</h1>
Debugging a Django app in VS Code
Learning how to debug is useful, because when your project gets big, you don’t want to always write print statements to see where your code is breaking.
In VS Code, click the ‘Run & Debug’ button, then create a launch.json file. Add breakpoint wherever you want the program to stop running. To add a breakpoint, left click the line number you want the program to stop at and a red dot will appear. Run the debugger.
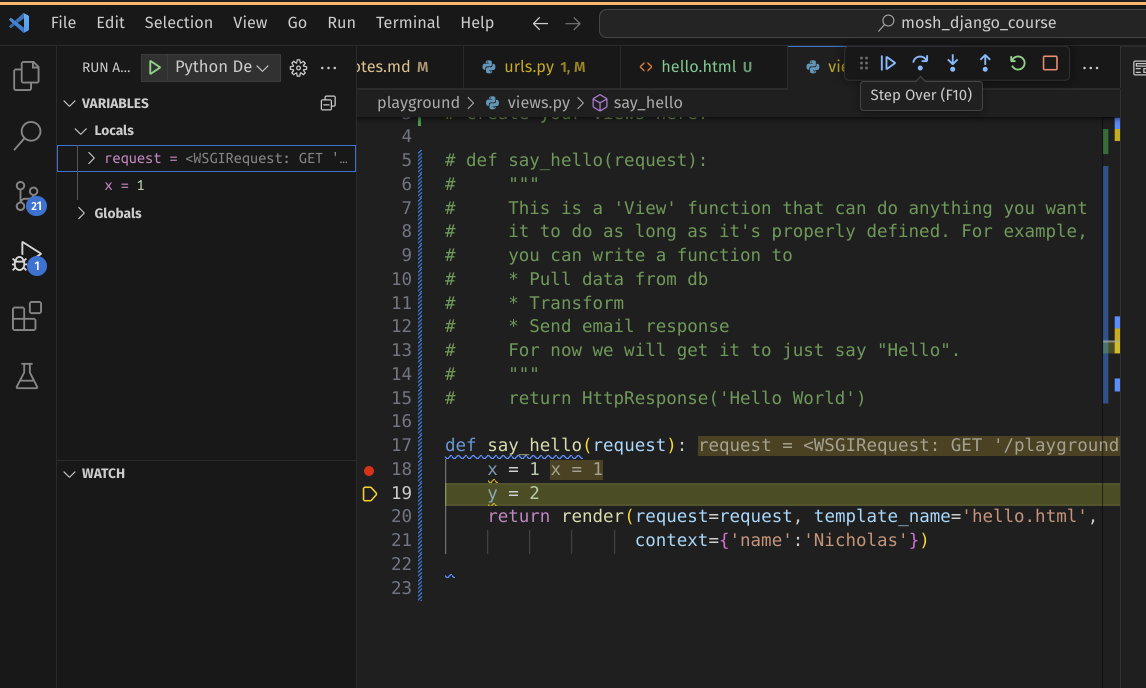
You can click ‘Step Over’ (shortcut F10) which will run the breakpoint line and go to the next one. In the example below, say you put a breakpoint at line 18. After ‘stepping over’, you’ll have a local variable x now.
Using ‘Step Over’ (F10)
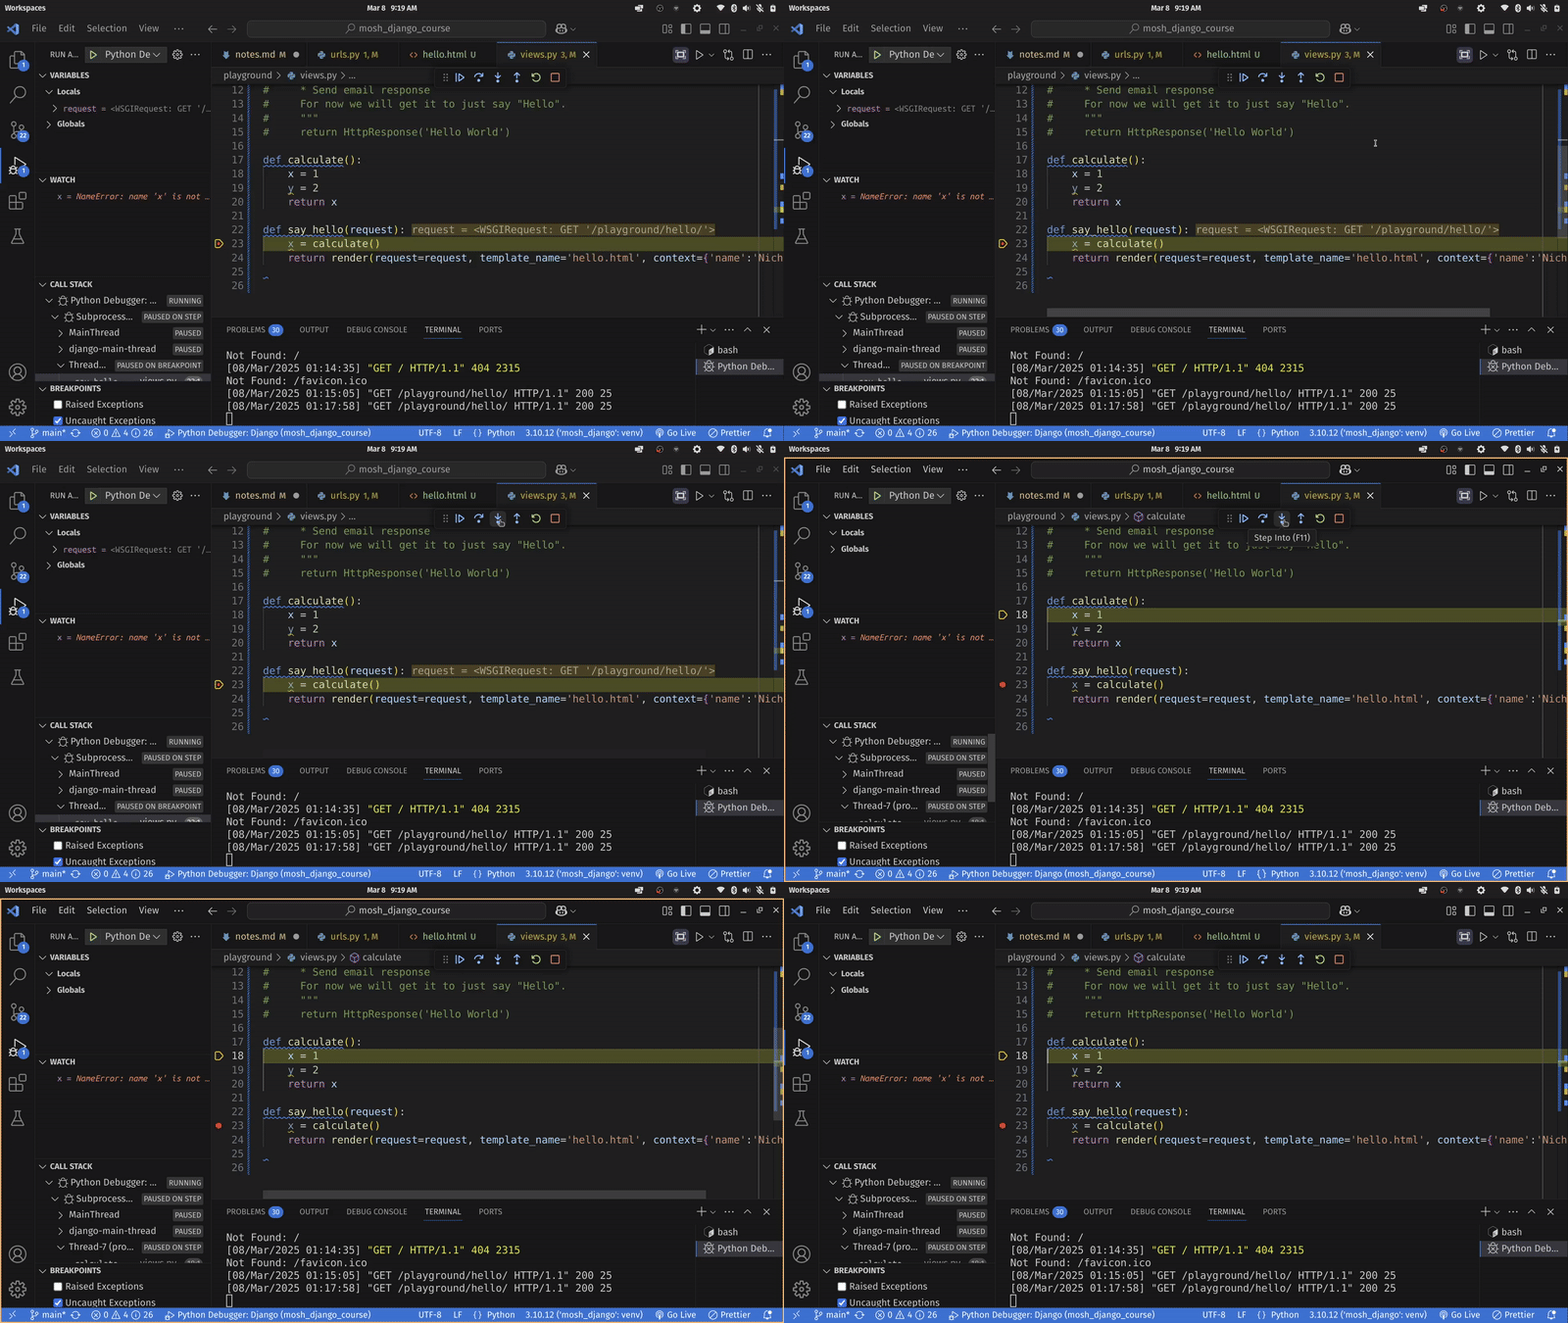
You also have ‘Step Into’, which allows you to inspect what is going on within a function to check for bugs. The difference between ‘Step Into’ and ‘Step Over’ is that ‘Step Over’ will evaluate the function and return the output but ‘Step Into’ will go inside the function.
Using ‘Step Into’ (F11)
You can also ‘Step Out’ which returns you back to the line of the function call you were at previously.
Tip 1: Remember to remove your breakpoints after you are done debugging.
Tip 2: You can use CTRL + F5 to run the project instead of running the python manage.py runserver command in your terminal.
Django Debug Toolbar
I haven’t gone too deep into how to use the debug toolbar efficiently. For now, I’m just recording the steps to install it and add it to my Django project.
-
Step 1: After you’ve pip-installed
django-debug-toolbar, add it to your installed apps. -
Step 2: Add a new URL pattern inside the main URLconf module.
-
Step 3: Add middleware
-
Step 4: Add IP address to your
settings.pyfile. It is not created by default, just copy and paste this anywhere in the file.
Add the lines below into your settings.py
INTERNAL_IPS = [
    # ...
    "127.0.0.1",
    # ...
]
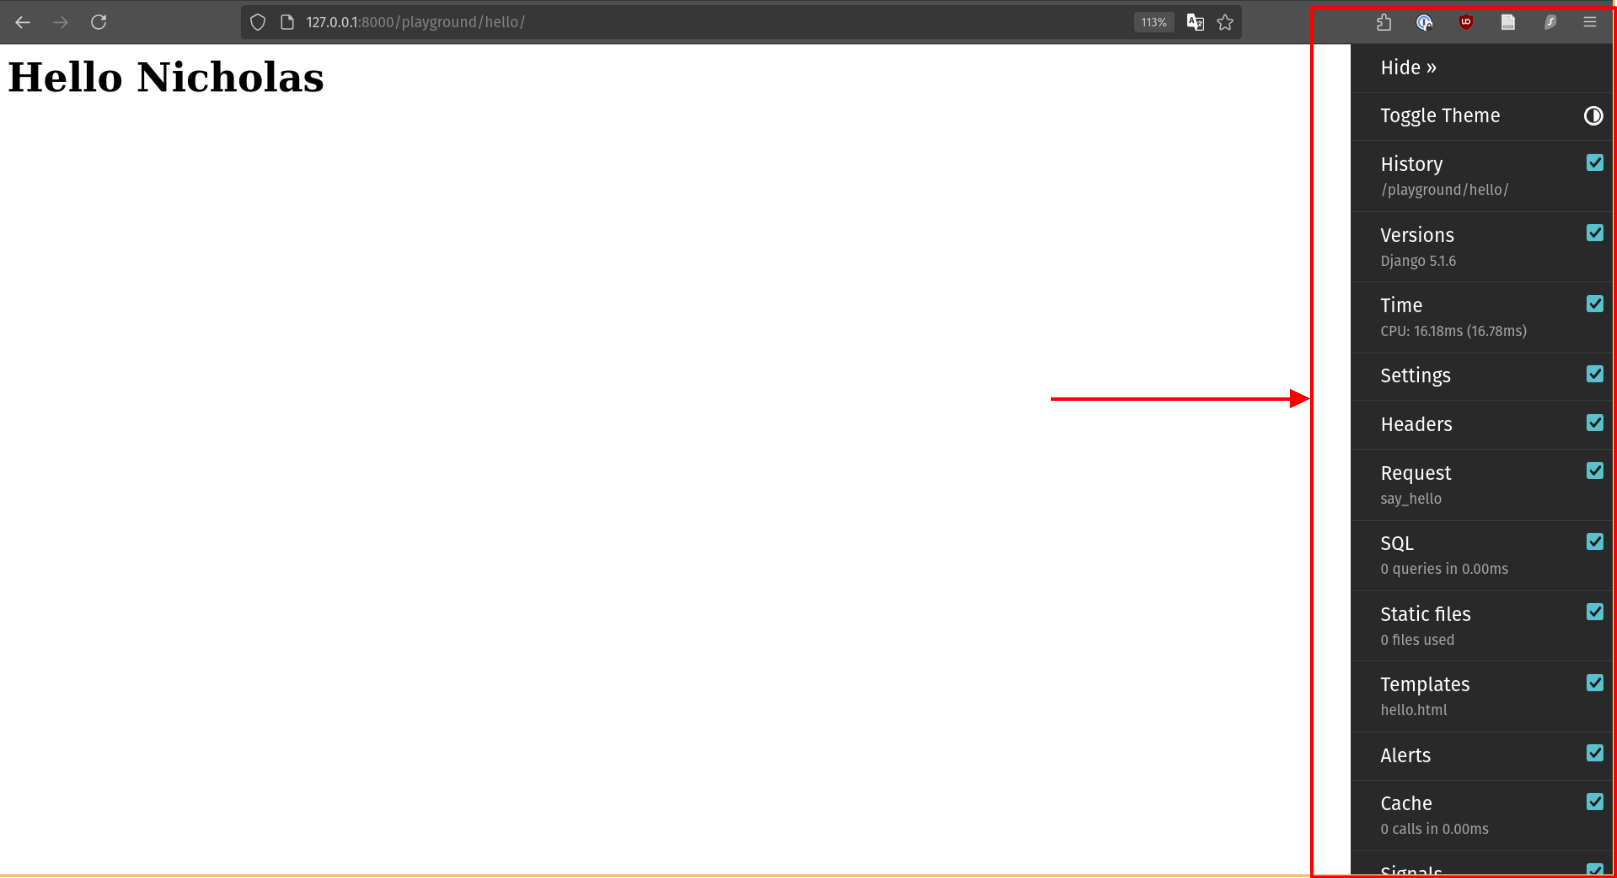
Screenshot of the debug toolbar.
Conclusion
Ok, so Mosh’s tutorial ended here pretty abruptly. I was left feeling like 5% better off than before. It goes to show that learning is never as linear as I expect. I will not always land on the right resources to help me make progress. However, I’m willing to press on to make my GIS web app a reality, so my next steps are to keep learning Django from other sources and also understand the theory of the Capacitated Vehicle Routing Problem (CVRP).